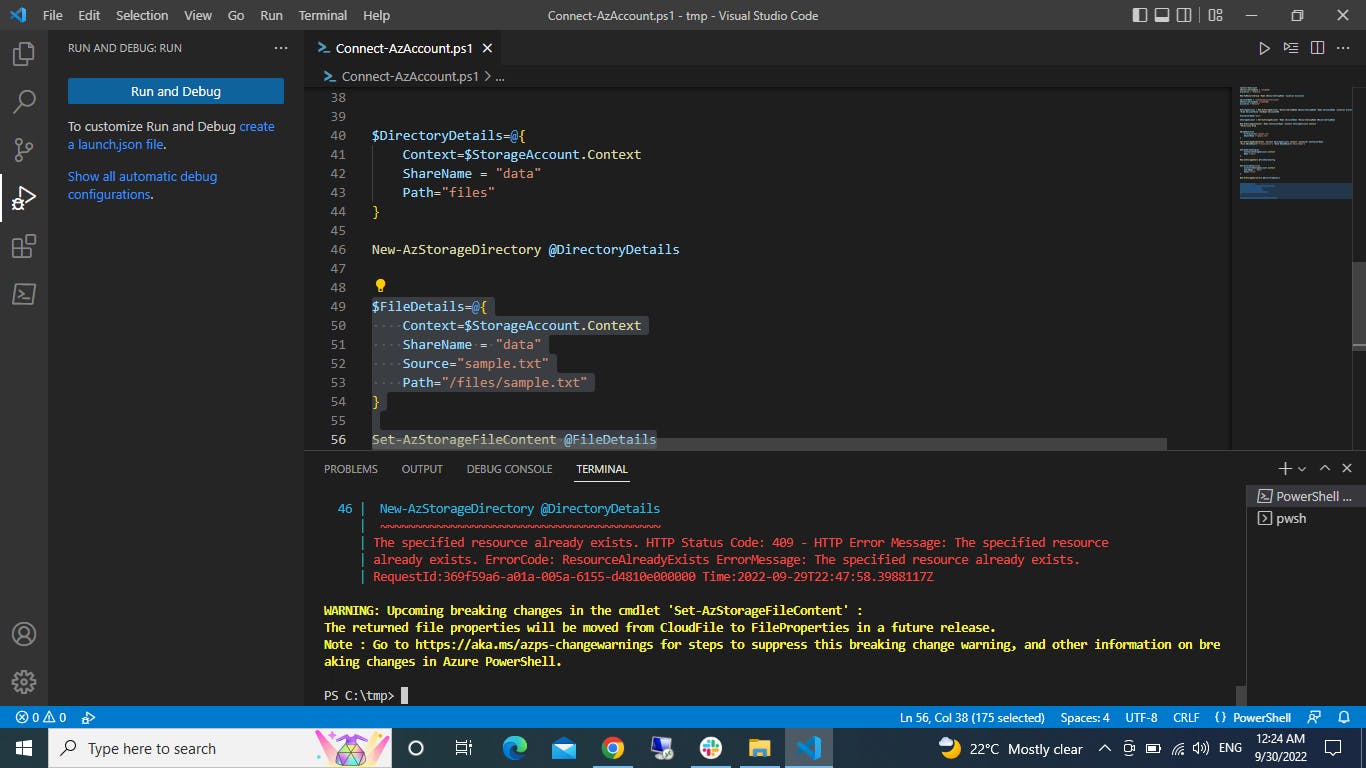
Creating Containers, File Shares and Directories within a Storage Account using Powershell
In week 3 of the Sidehustle bootcamp, we've been tasked with; Creating a Standard general-purpose v2 Azure Storage Account with Standard_LRS. Creating a container with a blob public access level within the storage account, then uploading a blob object to the container and, Creating a File Share within the Storage account and also creating a directory within the File Share and uploading a file.
To execute this, we used PowerShell on Visual Studio Code and an Azure account.
STEPS TAKEN
* Install Powershell on Visual Studio Code and connect the Azure Account with the code
Connect -AzAccount
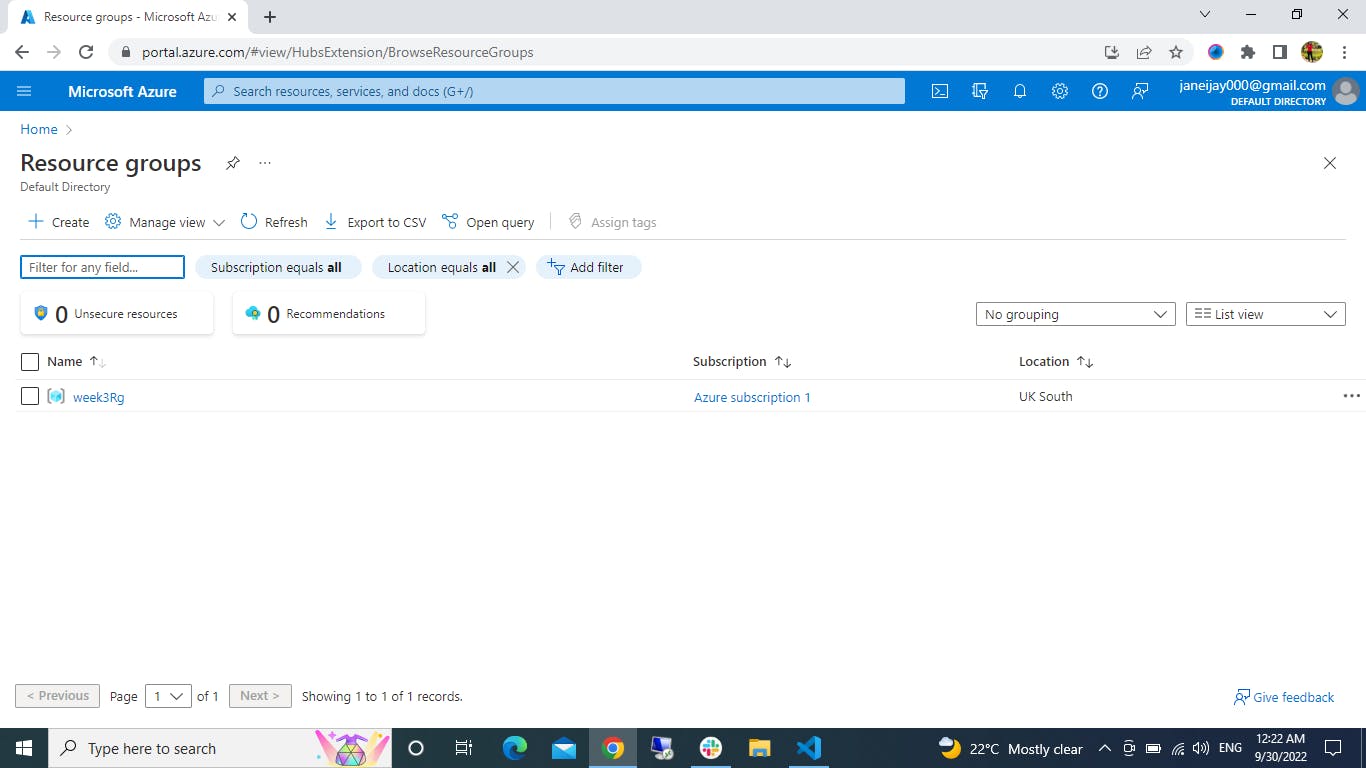
- Create a resource group
$ResourceGroupName = "week3Rg" $Location = "UKSouth"
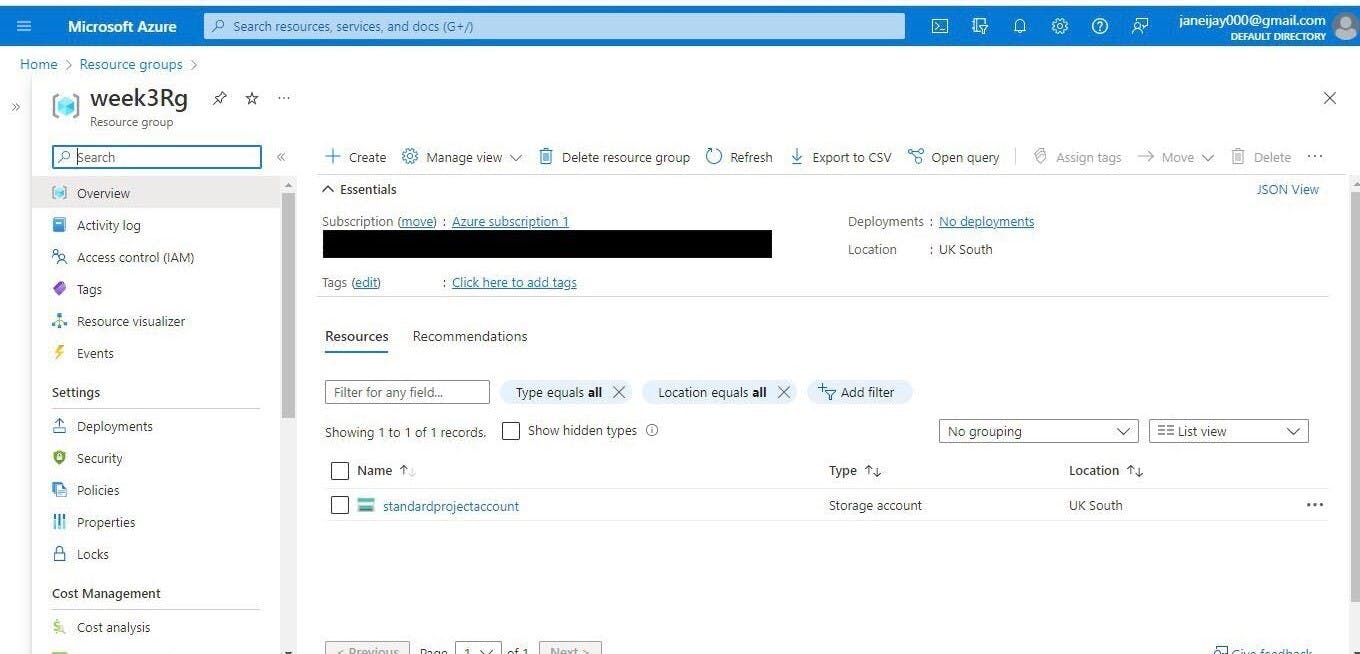
- Create the storage account in the resource group
$AccountName = "standardprojectaccount" $ResourceGroupName ="week3Rg" $Location ="UKSouth"
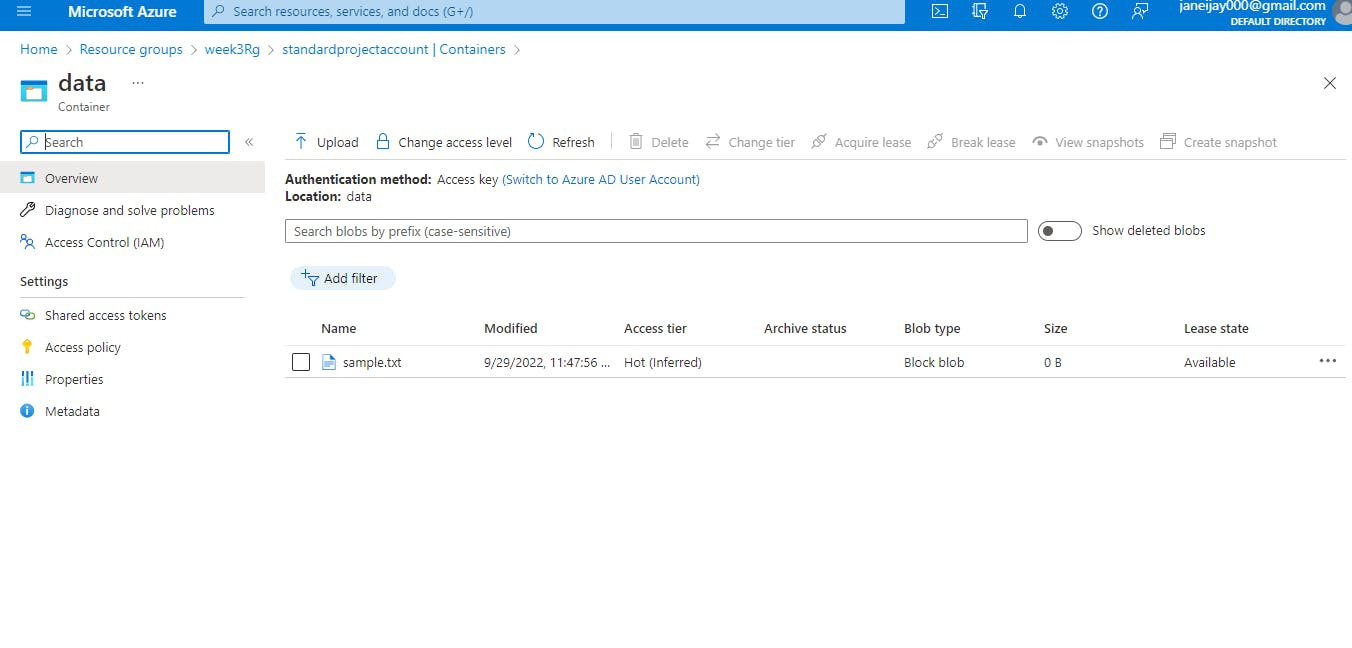
*Create a container with blob public access and upload a blob object
$ContainerName="data"
$BlobObject=@{ FileLocation="sample.txt" ObjectName ="sample.txt" }
*Create a File share within the storage account
$FileShareConfig=@{ Context=$StorageAccount.Context Name ="data" }
- Create a directory within the File share
$DirectoryDetails=@{ Context=$StorageAccount.Context ShareName = "data" Path="files" }
- Upload a file to the directory
$FileDetails=@{ Context=$StorageAccount.Context ShareName = "data" Source="sample.txt" Path="/files/sample.txt" }
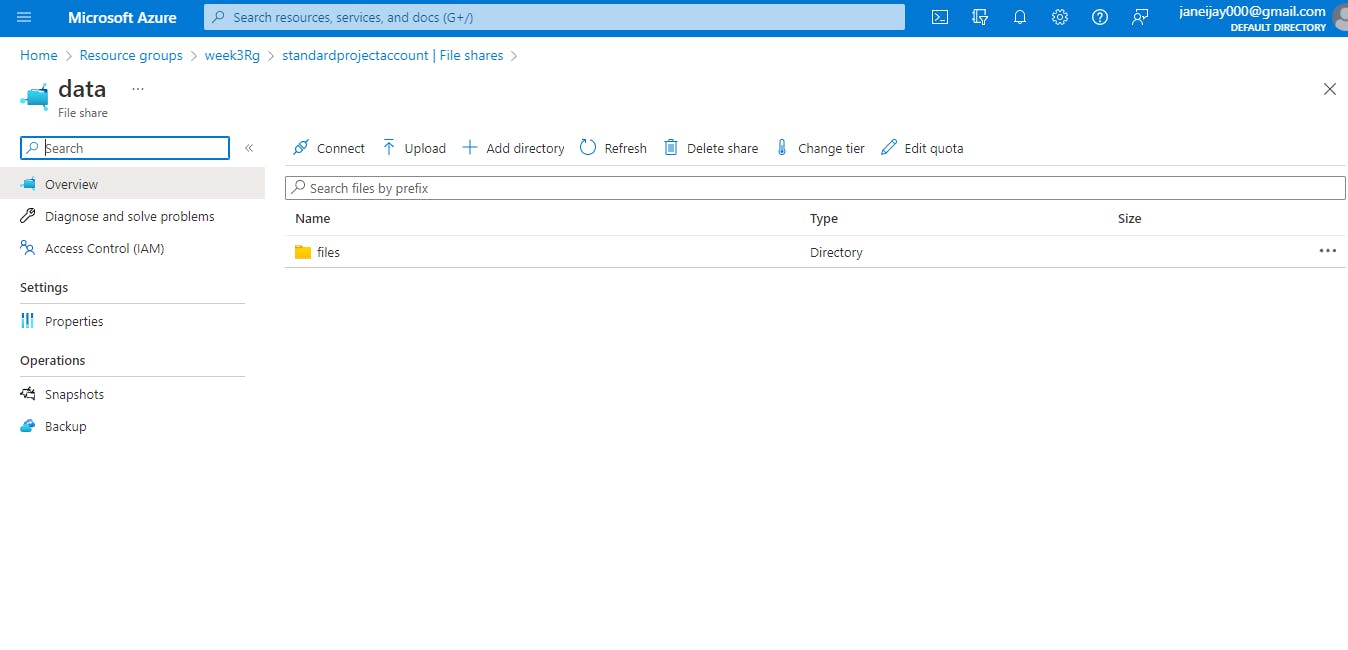
Succesfully, we used Powershell to create a File share which allows several people to access the same file data and we also created containers with blob public access level.
